Andrew Coles
Say no to rice
Hi all,
My old thread seems to have been closed, so I figured I'd continue with this new one. For newcomers, the rest of the saga can be found here: http://www.xwebforums.com/forum/index.php?threads/919&highlight=andrew's
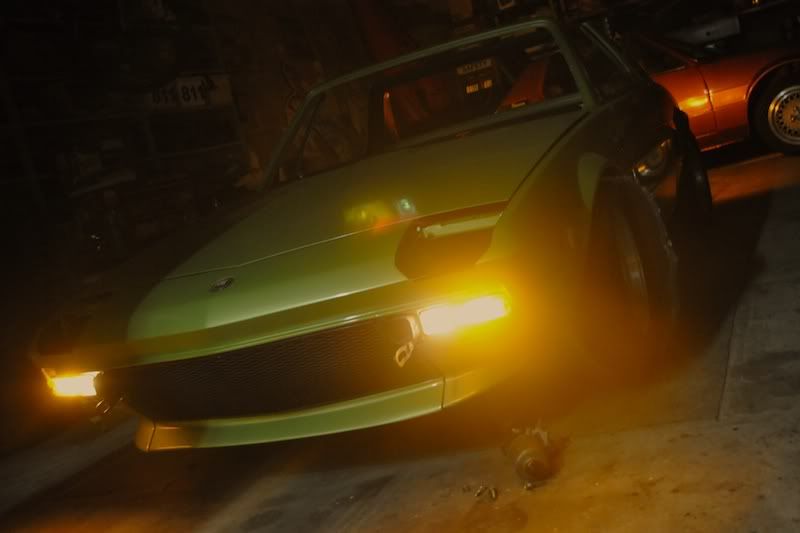
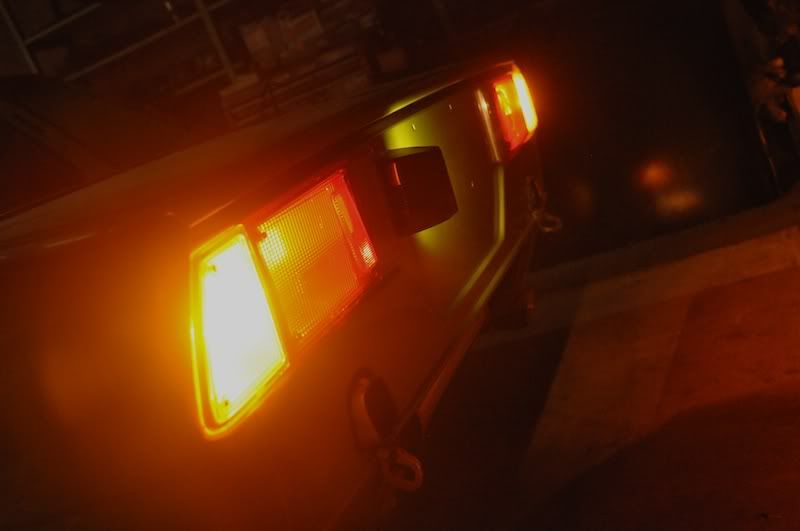
Contrary to popular belief, my X19 restoration is still actually happening. As you all know, priorities change and this has caused progress to slow with a lot of other things going on, but I can now see the light at the end of the tunnel! I'm actually really excited to hurry up and drive this thing!
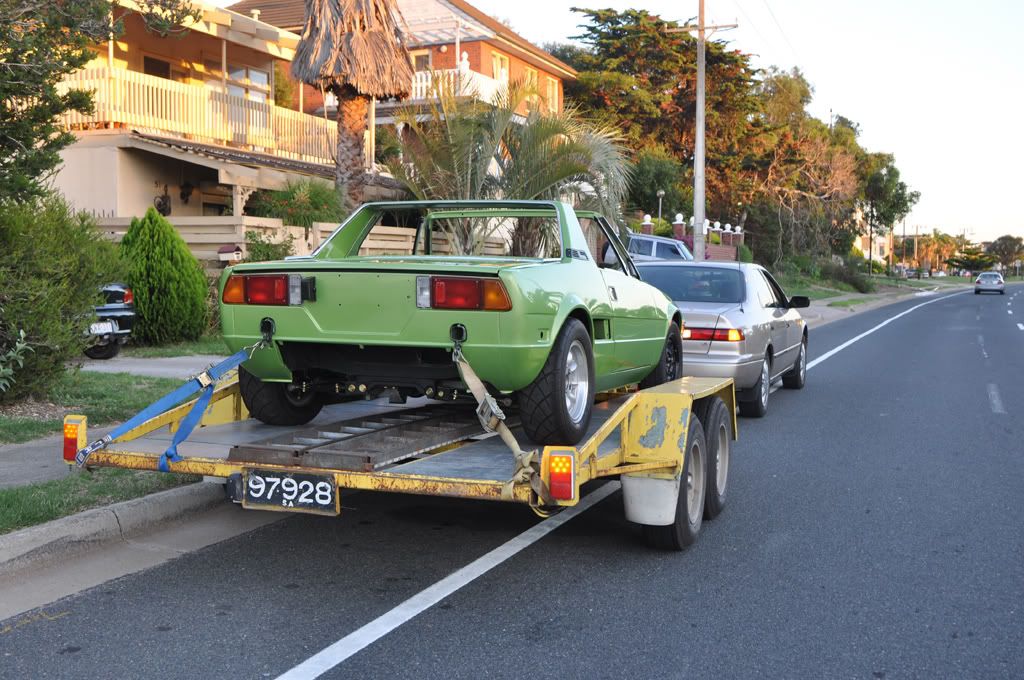
With the engine in, the next step was to take it to have an exhaust built. I'm running PBS extractors, and have gone with stainless for the rest of the system. I'm thinking its going to be a bit loud as it is, so I'll probablly have to quiten it down with a bigger muffler. Here she sits on the trailer, about to leave for the exhaust. First time in natural light in a few years!
I took a punt and had the system built at a local place. The guy was nice enough, but I'm not completely sold on the system. I suspect I could have had a much nicer system built for the same money if I'd done a little more homework first. Ah well. Here she sits on the hoist.... it was hard dropping it off and walking away, its the first time anyone else has done any work on it not supervised by myself.
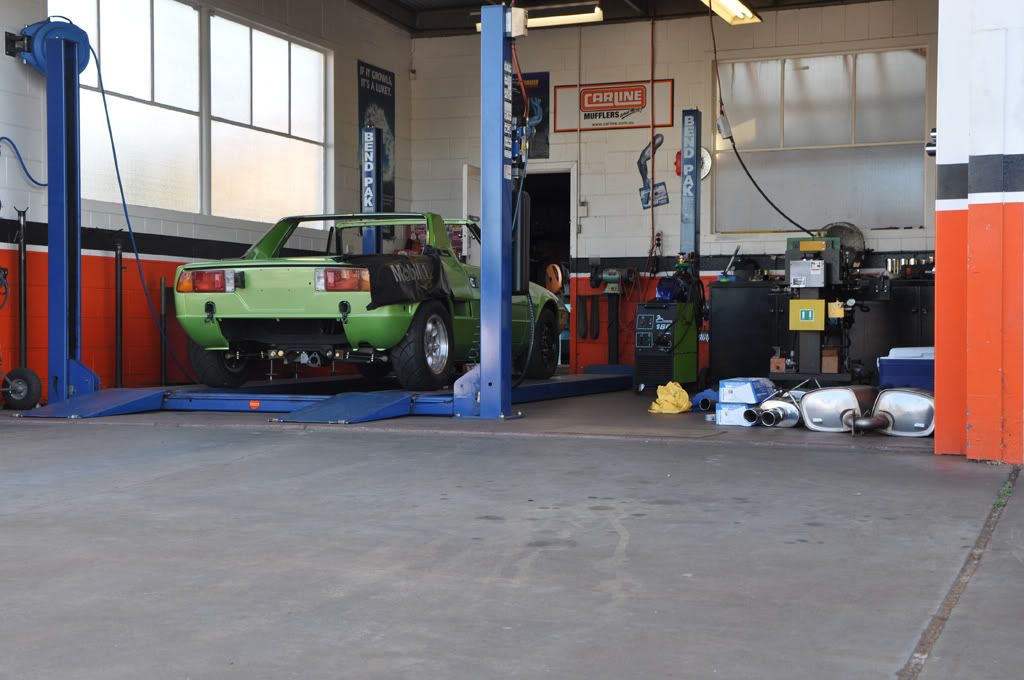
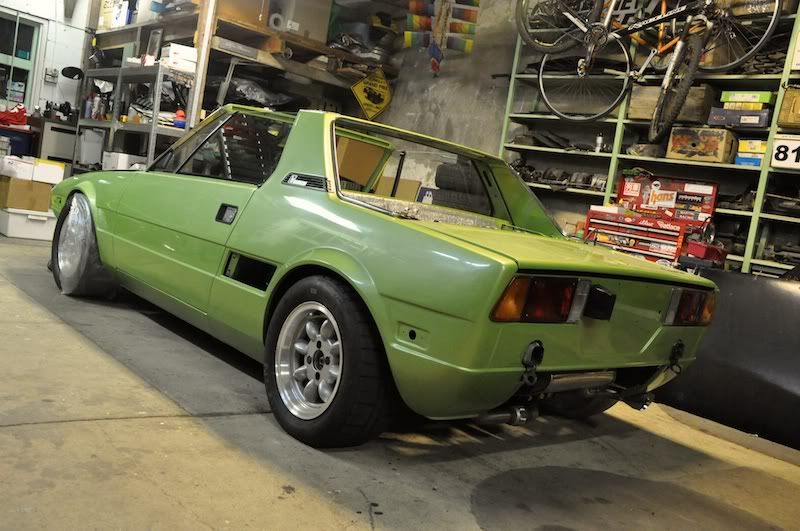
Here's the system on the car. Unfortunately it doesnt quite clear the rear grilles, so once it's driving I'll take it somewhere else to have it tweaked. It was my fault because I forgot to give the grilles to him, but then again he probably should have checked that out before welding. He also welded that tip on the end without checking. Each to his own, but I'm definelty not a fan of exhaust tips and will have it removed and a plain bit of staino welded on in its place when I can drive it to have it done. When was the last time you saw a proper racecar with an exhaust tip?

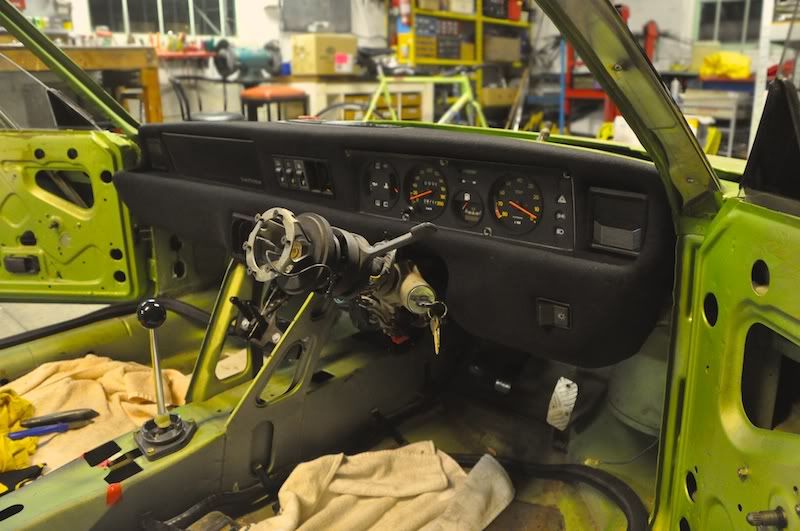
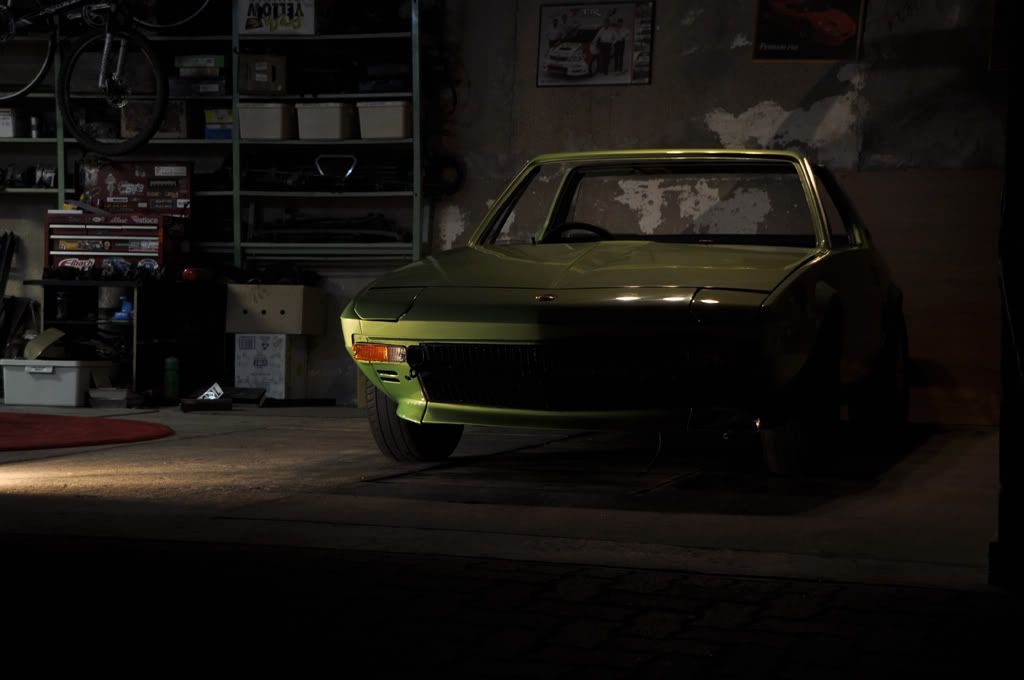
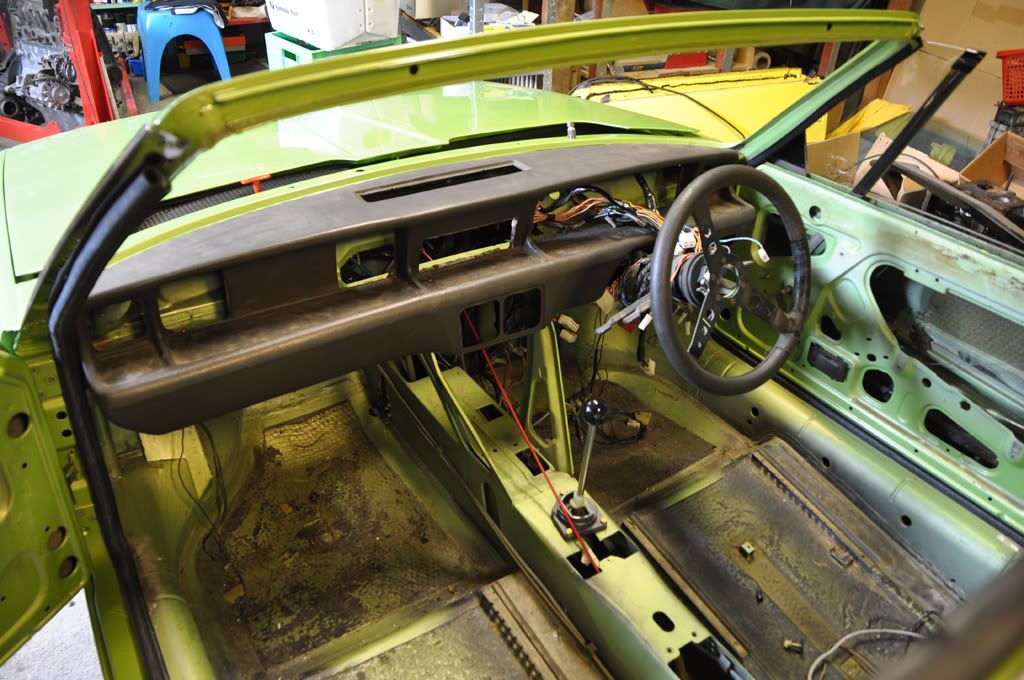
I gave up on my idea of trying to fix an old dash with sikaflex as it was taking far too long, and instead used this Series 1 dash we had lying around the place. I had to cut it a little bit to get it to fit over the chassis supports, I felt really guilty about hacking into a good S1 dash, but I figure that it can always be fixed back to stock again if needed. I fitted some little nutserts into the chassis and the dash mounts really well! Once the rest of the interior is finalised I'll rip it out and we'll trim it in black suede (sounds too show-car like I know, but it looks good. LeMans Porsche 917's and Ferrari 430 Scuderia's have a black suede dash).
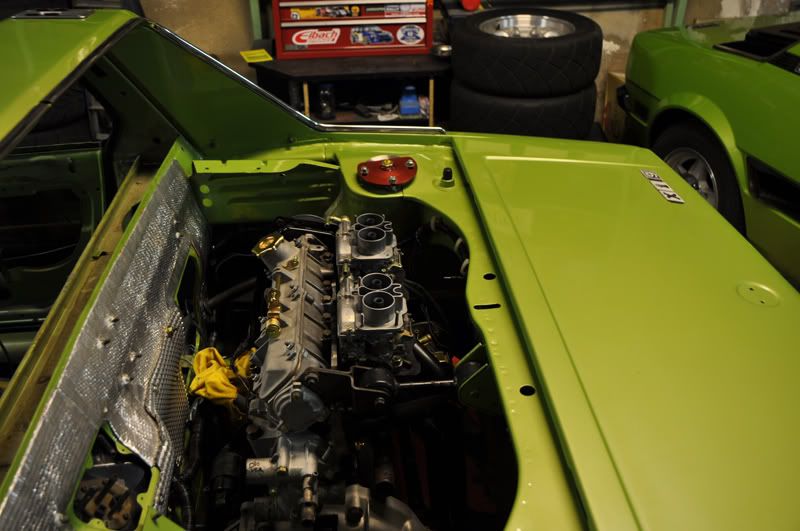
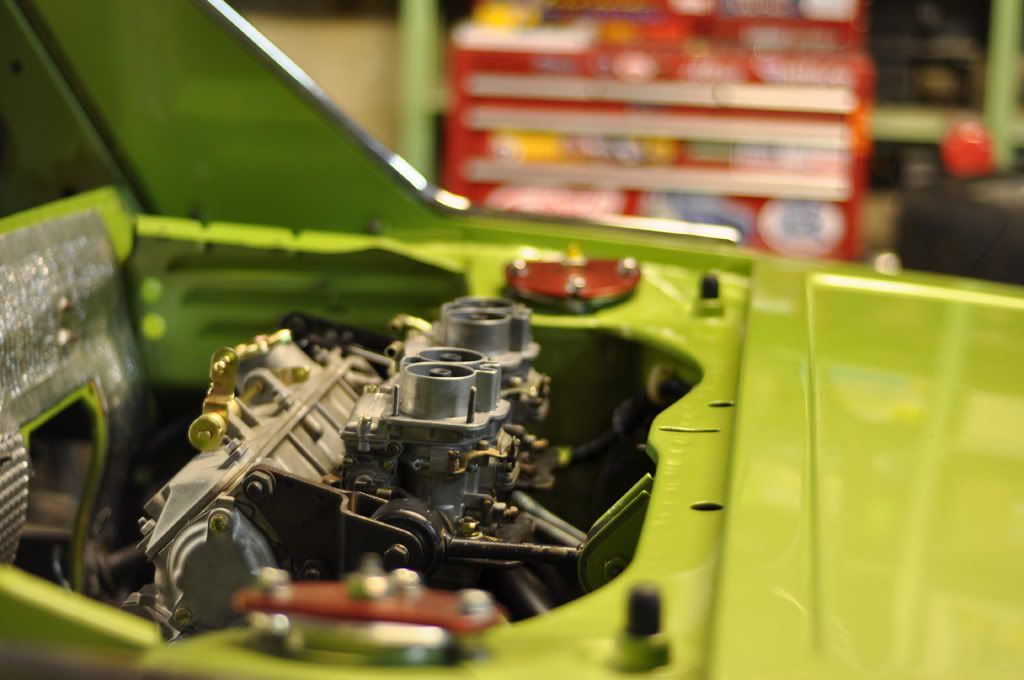
I've finally got the rebuilt carbies mounted as well. Theyre Weber DCNF40's on a PBS manifold. And when you line it up, the intake trumpets will sit at exactly ear level to the driver.... hehe
Thanks for reading, with a bit of luck I'll have a startup video to show soon!
Andrew
My old thread seems to have been closed, so I figured I'd continue with this new one. For newcomers, the rest of the saga can be found here: http://www.xwebforums.com/forum/index.php?threads/919&highlight=andrew's
Contrary to popular belief, my X19 restoration is still actually happening. As you all know, priorities change and this has caused progress to slow with a lot of other things going on, but I can now see the light at the end of the tunnel! I'm actually really excited to hurry up and drive this thing!
With the engine in, the next step was to take it to have an exhaust built. I'm running PBS extractors, and have gone with stainless for the rest of the system. I'm thinking its going to be a bit loud as it is, so I'll probablly have to quiten it down with a bigger muffler. Here she sits on the trailer, about to leave for the exhaust. First time in natural light in a few years!
I took a punt and had the system built at a local place. The guy was nice enough, but I'm not completely sold on the system. I suspect I could have had a much nicer system built for the same money if I'd done a little more homework first. Ah well. Here she sits on the hoist.... it was hard dropping it off and walking away, its the first time anyone else has done any work on it not supervised by myself.
Here's the system on the car. Unfortunately it doesnt quite clear the rear grilles, so once it's driving I'll take it somewhere else to have it tweaked. It was my fault because I forgot to give the grilles to him, but then again he probably should have checked that out before welding. He also welded that tip on the end without checking. Each to his own, but I'm definelty not a fan of exhaust tips and will have it removed and a plain bit of staino welded on in its place when I can drive it to have it done. When was the last time you saw a proper racecar with an exhaust tip?
I gave up on my idea of trying to fix an old dash with sikaflex as it was taking far too long, and instead used this Series 1 dash we had lying around the place. I had to cut it a little bit to get it to fit over the chassis supports, I felt really guilty about hacking into a good S1 dash, but I figure that it can always be fixed back to stock again if needed. I fitted some little nutserts into the chassis and the dash mounts really well! Once the rest of the interior is finalised I'll rip it out and we'll trim it in black suede (sounds too show-car like I know, but it looks good. LeMans Porsche 917's and Ferrari 430 Scuderia's have a black suede dash).
I've finally got the rebuilt carbies mounted as well. Theyre Weber DCNF40's on a PBS manifold. And when you line it up, the intake trumpets will sit at exactly ear level to the driver.... hehe
Thanks for reading, with a bit of luck I'll have a startup video to show soon!
Andrew
")